Introduction
ROS (Robot Operating System) is a popular open-source framework for building robotic systems. It provides a set of tools and libraries that help developers build, test, and deploy robotic applications. Docker is a platform that allows you to package your applications and their dependencies into containers, which can then be run on any system that has Docker installed.
When developing robotic applications with ROS, it can be useful to have a clean and isolated development environment. Docker provides a way to achieve this by creating a container that contains all the necessary ROS dependencies and tools. This allows you to work on your ROS projects without worrying about conflicting dependencies or system changes.
In this guide, we will show you how to set up a ROS2 development environment inside a Docker container. We will cover the following topics:
- Installing Docker on your system
- Creating a dockerfile for your ROS2 development environment
- Creating a devcontainer configuration for Visual Studio Code
- X11 forwarding for GUI applications (RViz, Gazebo, etc.)
By the end of this guide, you will have a fully functional ROS2 development environment running inside a Docker container, ready for you to start building your robotic applications.
Prerequisites
Before you begin, you will need the following:
- A system running Linux (this guide was tested on Ubuntu 22.04)
- Or a system running Windows or macOS with WSL2 installed
- Visual Studio Code installed on your system
Step 1: Installing Docker
The first step is to install Docker on your system. You can follow the official Docker installation guide for your operating system:
If you are using Linux, you can install docker with single command:
curl -fsSL https://get.docker.com | sudo shAfter installing Docker, make sure the Docker daemon is running:
sudo systemctl status dockerYou should see an output similar to this:
● docker.service - Docker Application Container Engine Loaded: loaded (/lib/systemd/system/docker.service; enabled; vendor preset: enabled) Active: active (running) since Mon 2025-02-15 12:00:00 UTC; 1min 30s ago Docs: https://docs.docker.comStep 2: Creating a Dockerfile
Before we create a dockerfile, let’s create a new directory for our project:
mkdir ros_dockercd ros_dockerMake sure you have the following files in your project directory:
ros_docker├── .devcontainer│ └── devcontainer.json├── src└── dockerfile.develNow, let’s create a dockerfile.devel file with the following content:
FROM ros:jazzy
# delete existing userRUN if id -u $USER_UID ; then userdel `id -un $USER_UID` ; fi
# create the userRUN groupadd --gid $USER_GID $USERNAME \    && useradd --uid $USER_UID --gid $USER_GID -m $USERNAME \    && apt-get update \    && apt-get install -y sudo \    && echo $USERNAME ALL=\(root\) NOPASSWD:ALL > /etc/sudoers.d/$USERNAME \    && chmod 0440 /etc/sudoers.d/$USERNAMERUN apt-get update && apt-get upgrade -yRUN apt-get install -y python3-pipENV SHELL /bin/bash
USER $USERNAMECMD ["/bin/bash"]
This dockerfile is based on the official ROS2 image ros:jazzy. It creates a new user with the same UID and GID as the host user, so that files created inside the container have the correct permissions. It also installs python3-pip and sets the default shell to bash.
Step 3: Creating a devcontainer configuration
Next, let’s create a devcontainer.json file in the .devcontainer directory with the following content:
{ "name": "ros2-devel", "privileged": true, "remoteUser": "YOUR_USERNAME", "build": { "dockerfile": "../dockerfile", "args": { "USERNAME": "YOUR_USERNAME" } }, "workspaceFolder": "/home/ws", "workspaceMount": "source=${localWorkspaceFolder},target=/home/ws,type=bind", "customizations": { "vscode": { "extensions": [ "ms-vscode.cpptools", "ms-vscode.cpptools-themes", "twxs.cmake", "donjayamanne.python-extension-pack", "eamodio.gitlens", "ms-iot.vscode-ros" ] } }, "containerEnv": { "DISPLAY": "unix:0", "ROS_AUTOMATIC_DISCOVERY_RANGE": "LOCALHOST", "ROS_DOMAIN_ID": "42" }, "runArgs": [ "--net=host", "--pid=host", "--ipc=host", "-e", "DISPLAY=${env:DISPLAY}" ], "mounts": [ "source=/tmp/.X11-unix,target=/tmp/.X11-unix,type=bind,consistency=cached", "source=/dev/dri,target=/dev/dri,type=bind,consistency=cached", "source=${env:HOME}/.Xauthority,target=/home/YOUR_USERNAME/.Xauthority,type=bind,consistency=cached" ], "postCreateCommand": "sudo rosdep update && sudo rosdep install --from-paths src --ignore-src -y && sudo chown -R $(whoami) /home/ws/"}Replace YOUR_USERNAME with your host username in the devcontainer.json file. This file defines the development container configuration for Visual Studio Code. It mounts the workspace folder, sets the DISPLAY environment variable for X11 forwarding, and installs some useful VS Code extensions for C++, Python, Git, and ROS development.
Step 4: X11 forwarding for GUI applications
The devcontainer.json file already includes the necessary configuration for X11 forwarding. The DISPLAY environment variable is set to ${env:DISPLAY}, which forwards the X11 display from the host to the container. This allows you to run GUI applications such as RViz and Gazebo inside the container and display them on your host machine.
X11 forwarding on remote servers
In my case, I am running the container on a remote server, while I want to display the GUI applications on my local machine. To achieve this, I need to set up X11 forwarding on the server and configure the SSH connection to allow X11 forwarding.
First, make sure X11 forwarding is enabled in the SSH server configuration on the remote server. Open the SSH server configuration file /etc/ssh/sshd_config and make sure the following lines are present:
...X11Forwarding yesX11DisplayOffset 10X11UseLocalhost yes...Then, restart the SSH server to apply the changes:
sudo systemctl restart sshdNext, make sure X11 forwarding is enabled in the SSH client configuration on your local machine. Open the SSH client configuration file ~/.ssh/config and add the following lines:
Host remote-server HostName remote-server-ip ForwardX11 yes ForwardX11Trusted yesReplace remote-server with the hostname of your remote server and remote-server-ip with the IP address of your remote server.
The devcontainer.json file already includes the necessary configuration for X11 forwarding on the remote server. The mounts section mounts the X11 Unix socket and Xauthority file from the host (remote server) to the container, allowing GUI applications to display on the host machine (remote server) then forwarded to the local machine.
Step 5: Up & Running
Now that we have set up the Dockerfile and devcontainer configuration, we can build the Docker image and start the development container. Open the project directory in Visual Studio Code and press CTRL + SHIFT + P to open the command palette. Then, select the Dev Containers: Rebuild Container command to build the Docker image and start the development container.
Once the container is up and running, you can start developing your ROS2 applications inside the container. You can use the terminal in VS Code to run ROS commands, launch nodes, and interact with your robotic applications.
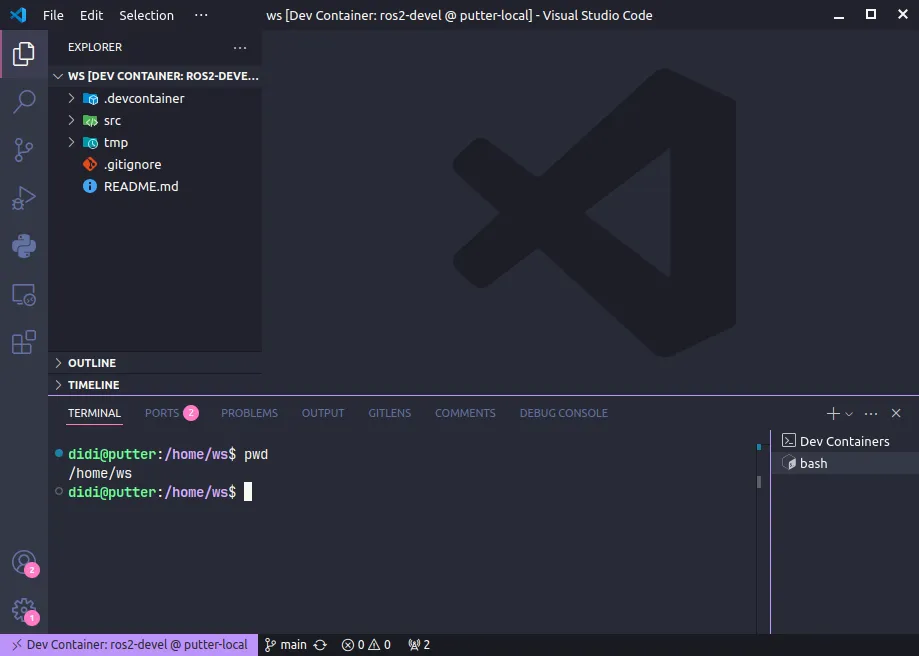
You can see the Dev Container: xxx status in the bottom left corner of the VS Code window.
Running RViz
To check if the X11 forwarding is working correctly, you can run RViz inside the container. Open a terminal in VS Code and run the following command:
sudo apt install ros-$ROS_DISTRO-rviz2 -ysource /opt/ros/$ROS_DISTRO/setup.bashrviz2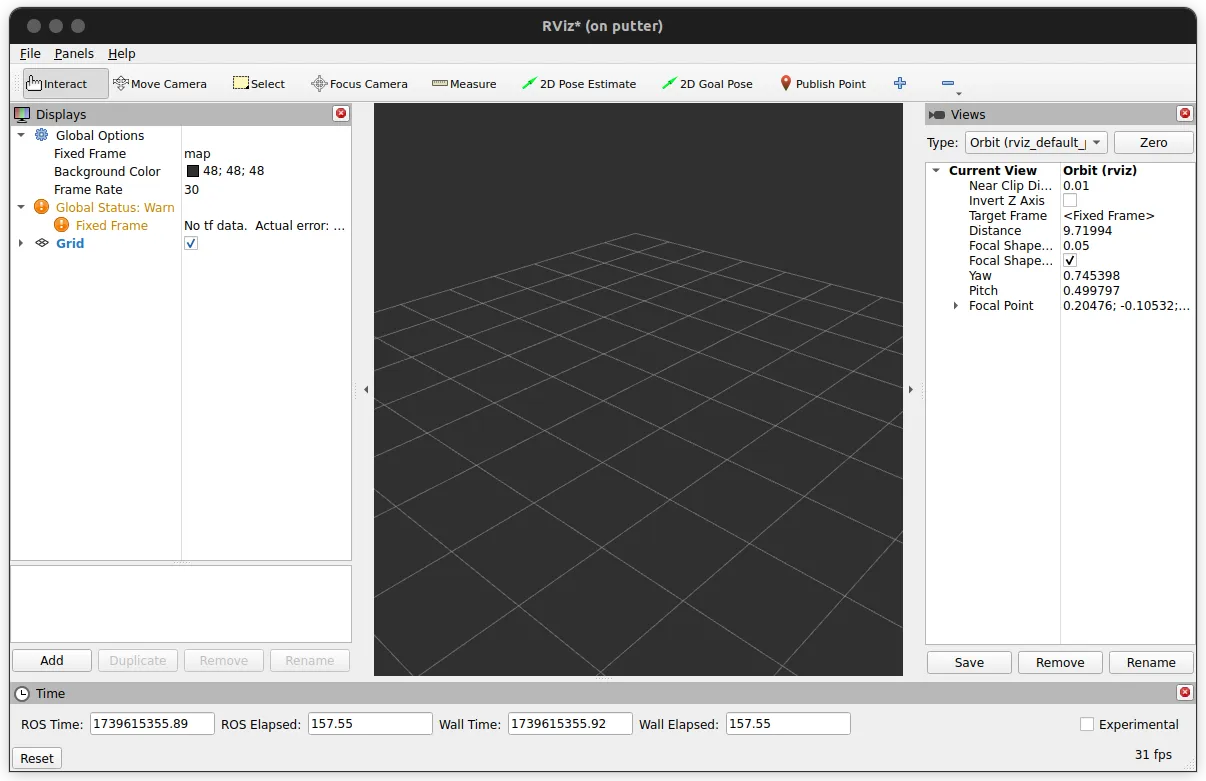
You can see RViz running inside the Docker container on a remote server (on putter in this case) with X11 forwarding to the local machine.
Conclusion
In this guide, we showed you how to set up a ROS2 development environment inside a Docker container. By following the steps in this guide, you can create a clean and isolated development environment for your ROS projects, allowing you to work on your robotic applications without worrying about conflicting dependencies or system changes.
Additionally, we demonstrated how to set up X11 forwarding for GUI applications, so you can run RViz, Gazebo, and other graphical tools inside the container (even on a remote server) and display them on your local machine.
Acknowledgements
This guide was inspired by the official ROS2 Docker images, the VS Code Remote - Containers extension, and the Community Guide to ROS2 Development with Docker. Special thanks to the ROS and Docker communities for their contributions to open-source software.